Photograms:
- The process of making a photographic image without the use of a camera, but instead placing objects on a light-sensitive material (photographic paper) and then exposing it to light to form an image. over a few lessons i learnt how to create photograms and how to use the dark room. i made multiple photograms and tested many different exposures to see the effect on the image. i also used objects with different textures, shapes and levels of transparency to see the results of these on the photograph formed.
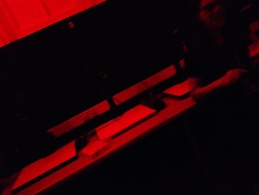
This photo was taken by me as i entered the darkroom for the first time. the photo shows the photo enlargers and the red lights within to room, red (safe) light is used as it doesn't expose the photographic paper to light and cause it to be unusable. As a physics student i knew that red light wouldn't affect this particular image developing process due to having the longest wavelength of visible light in the electromagnetic spectrum, the film we use in school is not sensitive to light at this end of the visible light spectrum and so it is deemed safe to use.
the simplest way possible to explain how to make a photogram, it is made by placing objects over photographic paper and exposing the paper to light. when the image is developed+fixed, the areas which had objects covering them will be white and the other areas black, a negative image is produced. this negative image can be used to make a positive version, this is done by placing the negative image emulsion side down onto another piece of photographic paper. light is briefly shone through the negative and the other piece of photographic paper used is then developed and fixed, forming the positive image.
the simplest way possible to explain how to make a photogram, it is made by placing objects over photographic paper and exposing the paper to light. when the image is developed+fixed, the areas which had objects covering them will be white and the other areas black, a negative image is produced. this negative image can be used to make a positive version, this is done by placing the negative image emulsion side down onto another piece of photographic paper. light is briefly shone through the negative and the other piece of photographic paper used is then developed and fixed, forming the positive image.
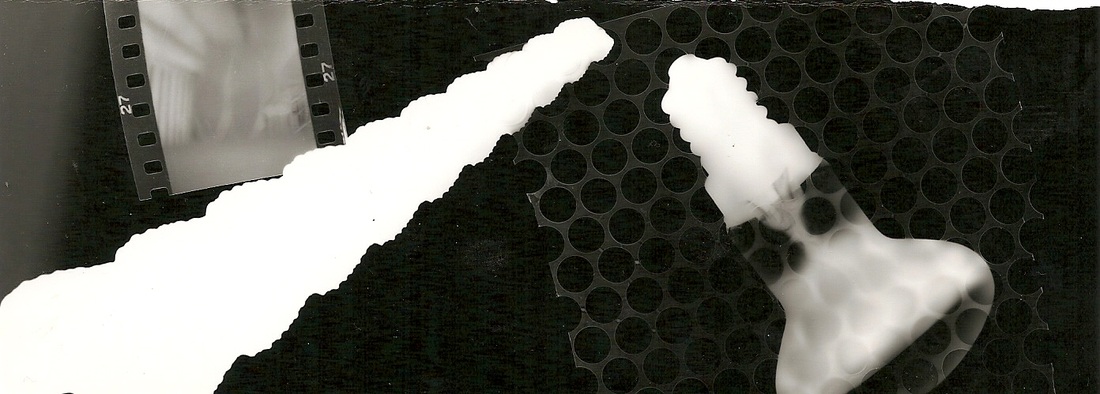
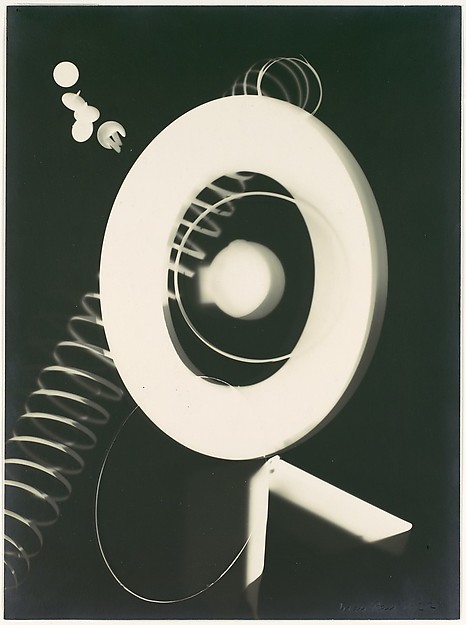
This photogram was made by placing a sea shell, lightbulb, netting and a strip of film on top of the photographic paper. From left to right you can see the shade of black in the background gets darker, this is because i was experimenting with exposure times on this image. the lighter area on the left was exposed to light for one second, the middle for 2 seconds and the darkest area on the right was exposed for 3 seconds. i had to experiment with exposure on some 'test strips' of photographic paper as i realised there were problems with the image formed if you under or over exposed the paper to light. too much exposure=image too dark, too little exposure= image to light.
the least transparent objects showed up as bright white due to no light penetrating through them and onto the paper, and the opposite result for the most transparent.
the least transparent objects showed up as bright white due to no light penetrating through them and onto the paper, and the opposite result for the most transparent.
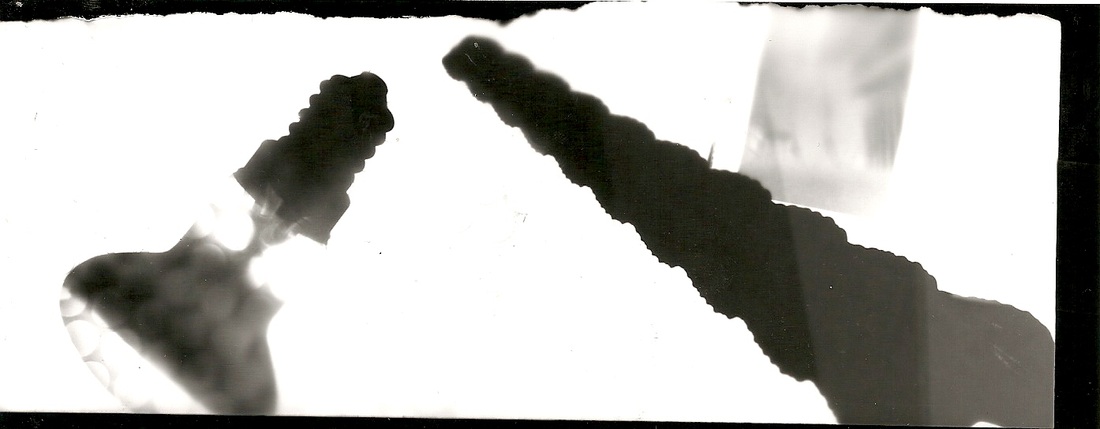
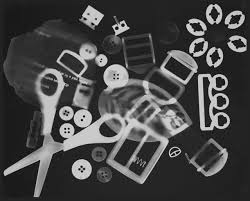
This image is a positive version i made of the previous photo. the exposure time gets lower from left to right, starting with three seconds on the left hand and goes down a second every quarter of the photo. this can be seen on the sea shell as the shades of black get lighter. i made this positive using a process called sandwich printing using the original negative image to do this. the process is explained in the second paragraph on this page. The blurred parts of the image are where the objects weren't focused well by the light shining on the photo-sensitive paper causing this effect. blurring is also caused by the process of making a sandwich print such as this one, it could have been because the two pieces of photographic paper involved in the process were not fully in contact with each other.
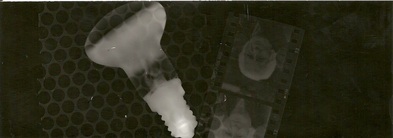
This photogram is the result of under exposing the paper. the image formed is very faint and not vey clear, caused by not exposing the photographic paper to light for long enough. However, in making this photogram which wasn't perfect, it allowed me to realise what i had done wrong so i could change this in the future which is what i did and so the other photograms didn't come out like this.
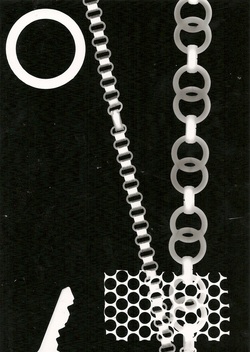
In this photogram i wanted to experiment with shapes and outlines on the photographic paper and how sharp the image formed is the closer it is to the paper. i found that the sharpest image formed is when an object was in full contact with the paper, the further away it was, the more blurry the image would be. this image shows two chains, a key, a circle and some netting over part of the chains.the exposure time was 3 seconds. a three second exposure left all other areas of the photograph completely black unless there was an object placed over it.
Artist Link: Man Ray
- Man ray (1890-1976) was an American artist, well known for his use of photograms in his modernist works which he called 'rayographs'. Rayographs are man rays name for his series of abstract photograms in which he combined objects to create surreal compositions.
- These photograms i have produced were inspired by and are linked to Man Ray's 'rayographs' as they both involve the same processes to create these photographs. Like Man Ray i also used everyday objects in my photograms producing an abstract effect as a result of this. other photogram artists include the likes of Susan Derges and Laszlo Moholy Nagy.
- Man Ray used ordinary objects and turned them into a work of art in a way which nobody else had thought of before. It is this innovation which inspired me to do this.
Portrait Photograms:

Using a photo of myself and a piece of black A4 card, i stuck the photo of myself and the black card together. I then cut my silhouette out using a craft knife leaving the outline of my body and head as well as the silhouette of this.
Using the the silhouette i used a range of objects to fill the inside space where my head and face originally was and began to make my portrait photograms.
Using the the silhouette i used a range of objects to fill the inside space where my head and face originally was and began to make my portrait photograms.
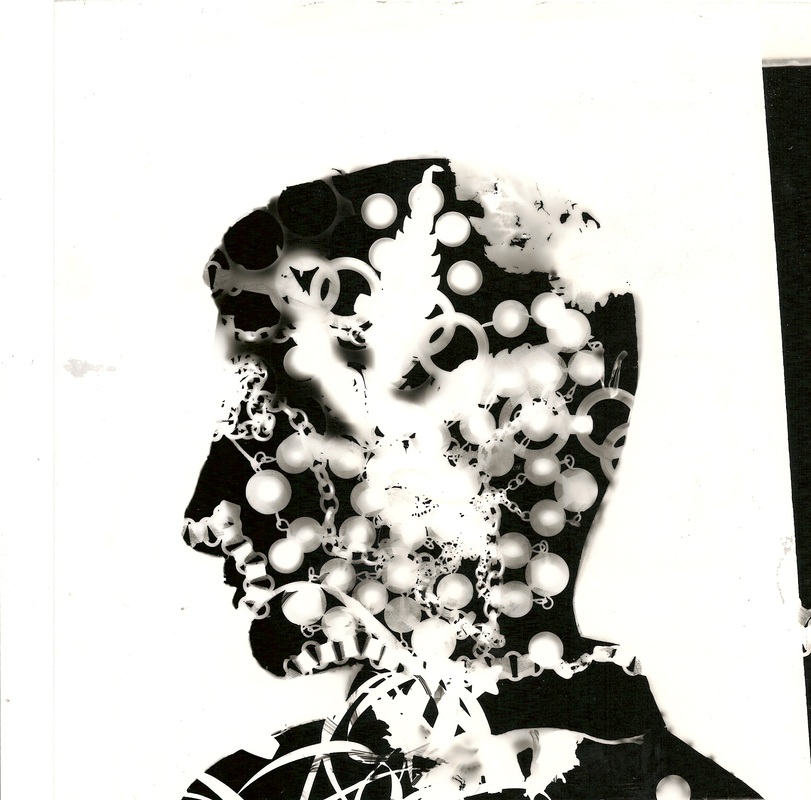
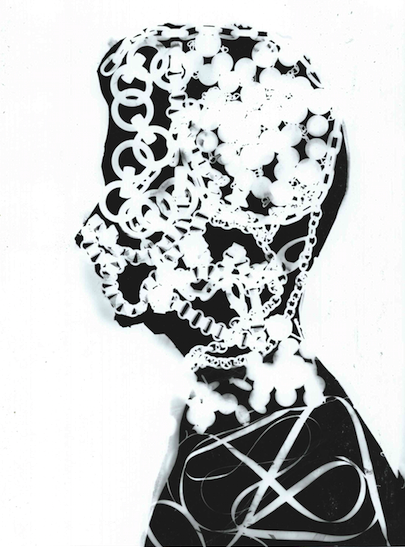
After a bit of trial and error work i managed to finally create a portrait photogram, involving a range of different objects and materials all of different density's, levels of transparency and shape to produce this piece. this image was made by using the cutout of my head shape to provide a 'border' for the image, i then placed a range of different objects over it such as: jewellery, leaves and film from a tape. these objects combined produced an abstract and surprising result which i am happy with as i didn't expect an outcome like that. this orderless arrangement of objects within the silhouette of the head can be linked to the complexity of human mind. an article on the cambridge university website states "There has been speculation for many years that the human brain lives “on the edge of chaos”, at a critical transition point between randomness and order; but direct experimental evidence has been lacking." this could possibly relate to my photograph as it could be interpreted as showing 'chaos' within the mind.
Photogram Inspirational Artist/ Artist Link: Jocelyn Carlin
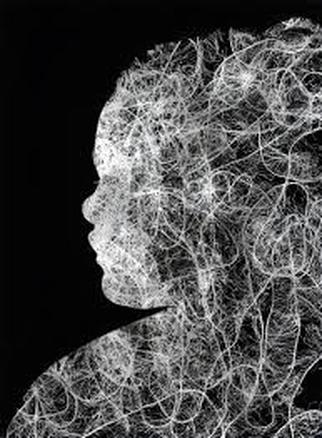
- Jocelyn is a New Zealand based photographer, globally known for her work as a photojournalist and all round visual artist.
- Carlin is easily one of the most influential photogram artists known. She uses silhouettes of people for her work similar to the work i produced and she adds texture and depth to her work by placing objects within the outlines of the subjects body.
