The Camera Obscura:
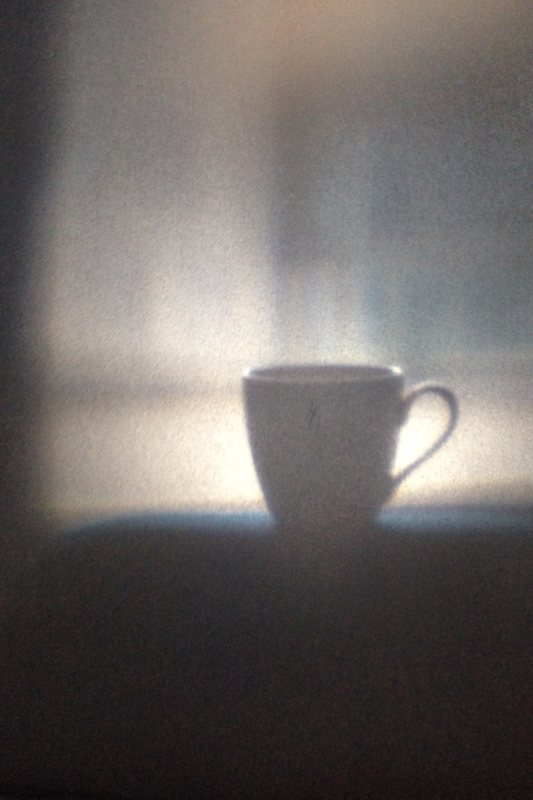
This lesson involved making a camera obscura from simple materials, to produce an image which i could then trace onto tracing paper stuck on the back of the obscura. Making my own camera obscura' gave me a developed understanding of how the camera works and the process of light diffraction involved in the image forming on the tracing paper on the back of the obscura. The device consists of a box with a small hole on the front, this had a magnifying glass secured on top of the hole to act as a lens. light from the surroundings then passes through the 'lens' and is then diffracted onto the tracing paper secured on the back of the box. the image formed is inverted (upside down) as a result. the image can then be traced to produce a representation of the image formed on the tracing paper. the last three images below show the images formed by the camera obscura and the final image is a drawing of the image formed by the camera obscura.
How to make the camera obscura:
-Firstly, i assembled a cardboard box and taped it together but left the back open for the tracing paper to be attached, ensuring it would hold its shape as well as not allowing light inside it from the parts that were sealed up
- Next, i cut a circular hole out on the front of the box to allow the lens to be fitted.
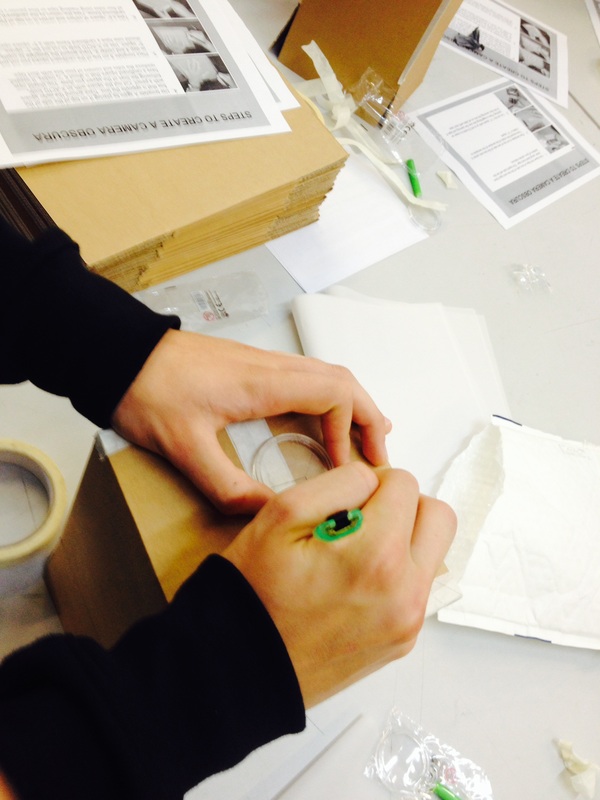
- I then securely taped a magnifying glass over the hole which i had cut out, this magnifying glass is the 'lens' for the camera obscura.
- Finally, i placed a sheet of tracing paper over the back end of the box and taped it firmly on, the building of the camera obscura was then complete.
-Firstly, i assembled a cardboard box and taped it together but left the back open for the tracing paper to be attached, ensuring it would hold its shape as well as not allowing light inside it from the parts that were sealed up
- Next, i cut a circular hole out on the front of the box to allow the lens to be fitted.
- I then securely taped a magnifying glass over the hole which i had cut out, this magnifying glass is the 'lens' for the camera obscura.
- Finally, i placed a sheet of tracing paper over the back end of the box and taped it firmly on, the building of the camera obscura was then complete.
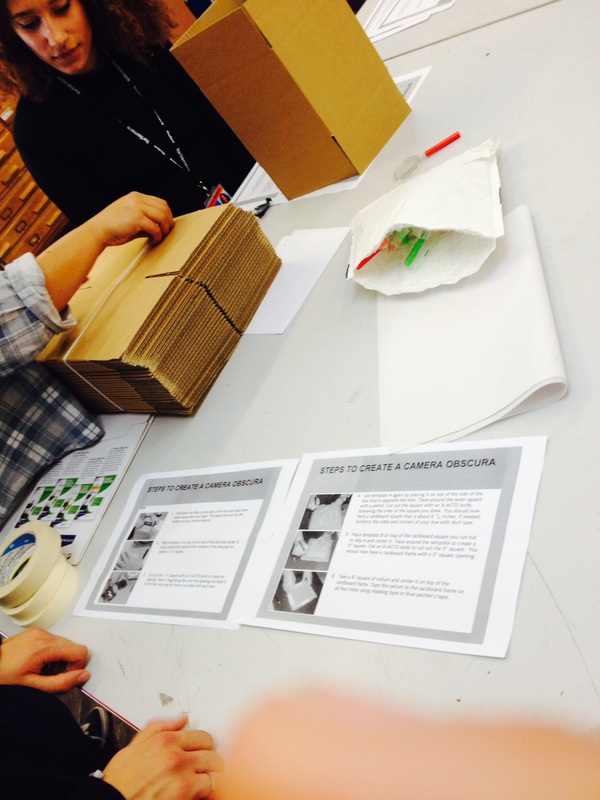
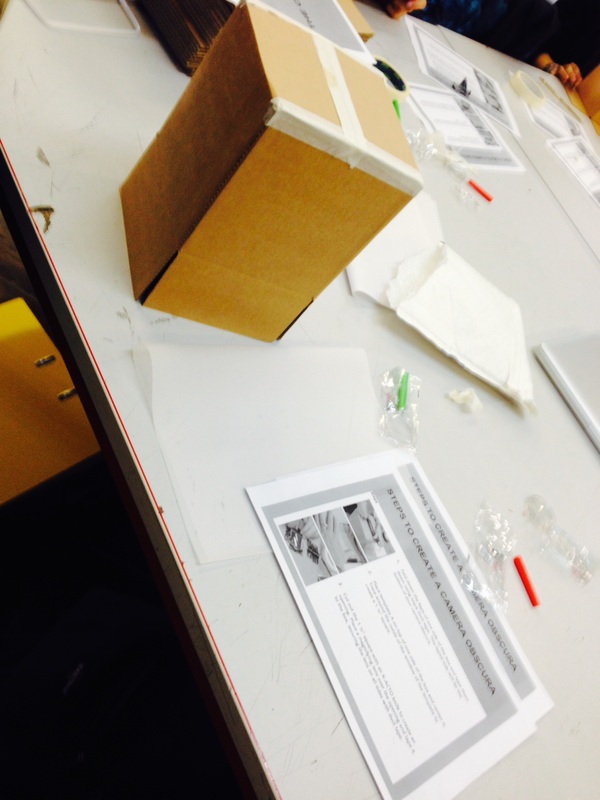
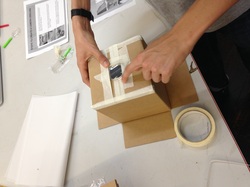
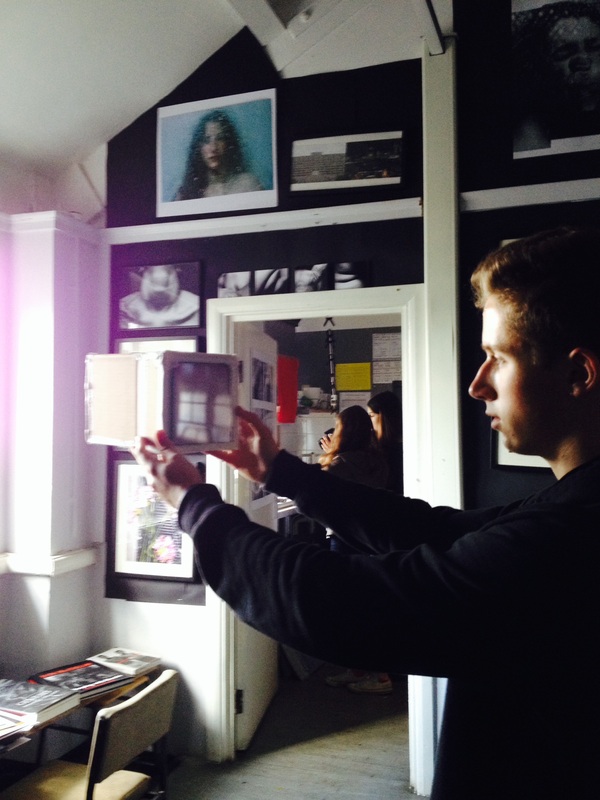
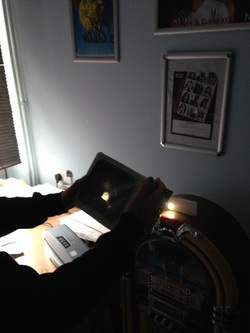
The photos above show the process of building the camera obscura, and using it.
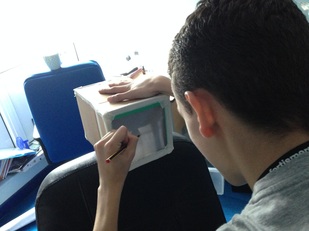
In the 7th image i am drawing the shape of the image formed by the obscura onto the tracing paper secured on the back.
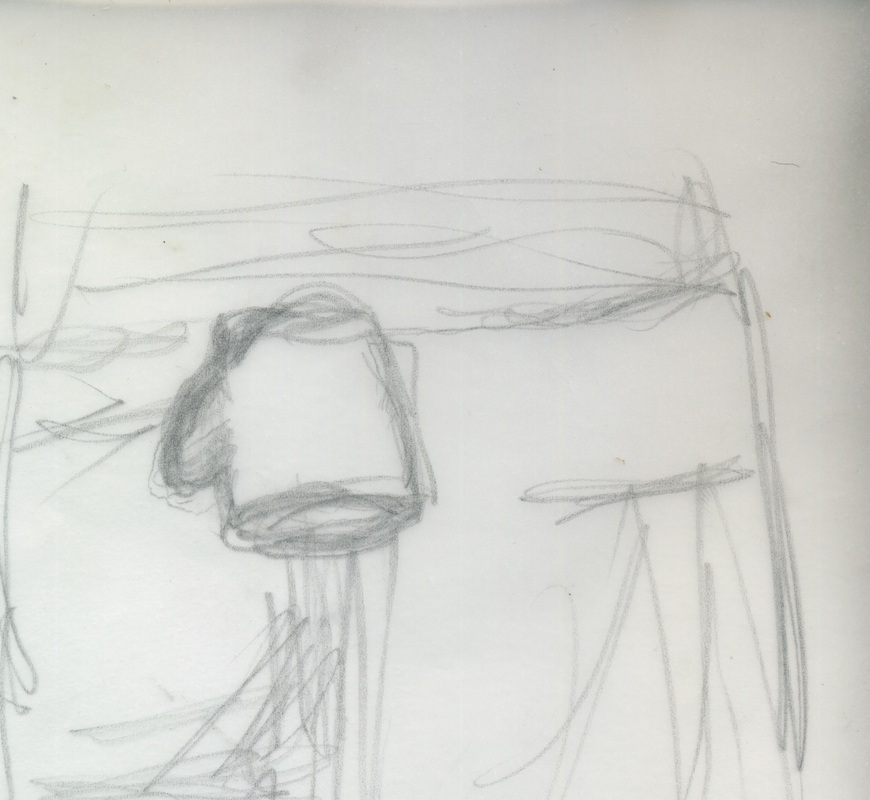
The last two photos show the image formed by the camera obscura and the drawing made on the tracing paper of the image.
In the 7th image i am drawing the shape of the image formed by the obscura onto the tracing paper secured on the back.
The last two photos show the image formed by the camera obscura and the drawing made on the tracing paper of the image.
The camera obscura operates in a rather odd way if you don't understand the physics behind the process.
The light rays enter the lens and an image is observed on the back of the device as the rays are projected, flipping the image upside down as a result. this diagram helps to understand how it works. the lens or magnifying glass my case, allows the image to remain sharp with a visibly bright outcome in comparison to pinhole cameras which produced blurred negatives the majority of the time.
The light rays enter the lens and an image is observed on the back of the device as the rays are projected, flipping the image upside down as a result. this diagram helps to understand how it works. the lens or magnifying glass my case, allows the image to remain sharp with a visibly bright outcome in comparison to pinhole cameras which produced blurred negatives the majority of the time.
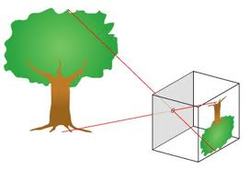
- This diagram explains how the image formed in a camera obscura is inverted when it takes in light.
