The Pinhole Camera:
- A pinhole camera is a camera without a lens. The design essentially involves a light proof box like structure with a small hole on the side of it.
- Photographic paper is inserted into the box and the photographic paper is manually exposed to light by opening the hole to light for a small period of time. This means the 'shutter speed' is determined by the amount of time you allow light to pass through the hole and into the box.
Making a pinhole Camera:
|
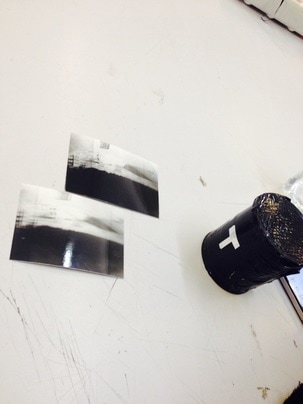
Pictured below is the pinhole camera.
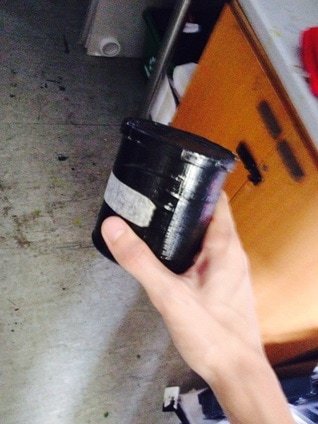
|
- The results of this project were amazing and the photos truly looked like they had been taken by some early form of film camera. the photos clearly showed buildings and nature and they were relatively sharp images considering the basis of the camera was a tin can.
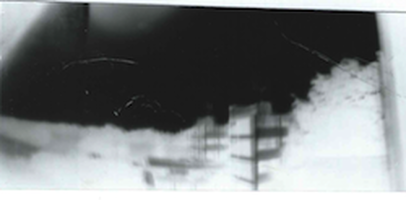
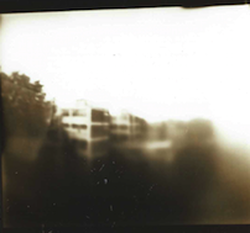
After around 3 test shots which failed completely i worked out how to get a shot using the pinhole camera which worked. i changed the amount of time i exposed the photographic paper within the tin can to around 2 1/2 seconds as i realised i had previously been under-exposing the paper so no image was formed as i developed it. this image is of the south-wing building in my school as well as showing trees and the field in the distance of the image. to ensure there was minimal blur on the photos i placed the pinhole camera of a solid, flat surface, however this was the sharpest could make the image even after repeat attempts to better the quality of the image.
The images produced by the pinhole camera are negatives, this is because of the photographic paper used.
The images produced by the pinhole camera are negatives, this is because of the photographic paper used.
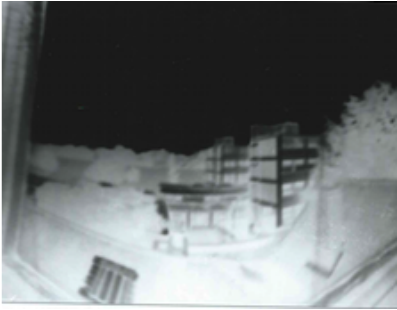
- Finally i managed to produce a sharper version of the image above. i exposed this image for around 3 seconds and as i did this i firmly held to pinhole camera onto a solid, flat window sill as if it was clamped to it. this clearly shows better results as the image seems more focused and even shows small details on the ground such as marking lines on the field which are shown on the left hand side. The structure of the building is also clear . this photograph is from the same spot as the image above.

I then made a sandwich print of an image similar to the one above to produce a positive version. this involved placing the emulsion sides of the photographic paper in contact with each other and then using masking tape to hold them firmly in contact with one another. i then exposed the image to 5 seconds of light using the enlarger in the dark room, and then developed the photographic paper to from the positive photograph.
Using the positive image i had just made i then set about making a sepia version. the picture above shows the process to turn a photo into sepia.
The first stage was to place the photo in water for about a minute this is to wash any remaining chemicals from the original developing process. the image was then placed in a tray of bleach and agitated. This causes the image to disappear . after about 30 seconds in the bleach i then removed it and placed the photographic paper into a second tray of water. i then agitated the image inside the water for around 2 minutes and the image began forming again.
The final sepia image is shown below:
- This image came out well although i could be improved if i were to repeat this process. I believe if the contact print had been done to a better standard then the sepia image wouldn't have been as blurred as it is. although the building is clear the lower end of the image is blurry. However, this could also be because of the bleach used in the process of making the sepia image as it could have damaged the emulsion and done this.
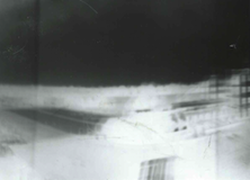
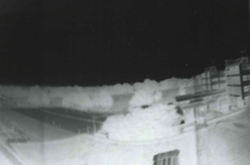
- This image is an example of the trial and error process i went through whilst producing these pinhole camera images.
- this image is very blurry as a result of not holding the pinhole camera steady as i exposed the photographic paper inside it to light. After i developed this image in the dark room i realised that i needed to keep the pinhole camera as steady as possible in order to avoid making this mistake again. this photograph, like the images above, is of the view of the south wing building in my school from the tetherdown building.
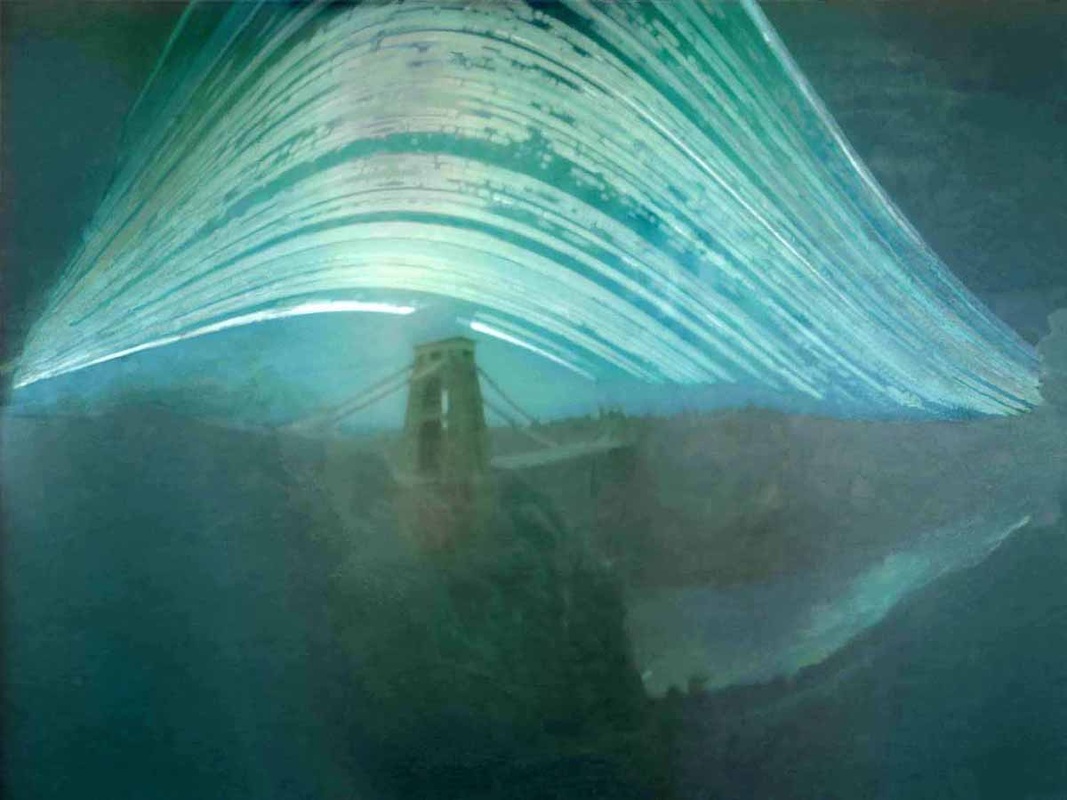
- From this image i noticed that the photographs made using the pinhole camera came out rounded. this is a result of the tin used for the camera being rounded and the photographic paper being placed inside the tin curved. so when light rays hit the photographic paper the image formed is curved round in comparison to it being straight if it were to be taken using a single lens reflex camera
Artist Link:
- Justin Quinell is a professional photographer that does lots of work to do with pinhole photography using simple objects such as drinks cans to achieve magnificent photography which is also very detailed, taking the camera he used into consideration.
|
|
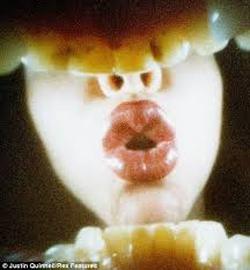
- Quinell even used his mouth as a pinhole camera. placing a film cartidge in his mouth with a hole 1/5th of a millimetre in radius on the side to act as the pinhole camera. he then held his mouth wide open whilst the film was being exposed. the outcome was amazing.
Artist Link: Vera Lutter
- Vera Lutter also uses pinhole cameras for her work.
- Inspired by lighting and modern day architecture she juxtaposes this old technique of pinhole photography with her modern subjects.


